When we went to Colorado for Christmas my parents had homemade soy milk. It tasted just like soy milk from a Singaporean hawker stall and I decided I had to have it again once we returned to Seattle. It’s not all that hard to make actually. It’s way cheaper than store bought soy milk too. Here’s a how-to:
Ingredients:
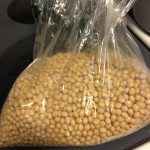
- Organic dried soybeans
- I got my beans from Whole Foods for $1.99/lb, I’ll update if I find them for less somewhere else. Word on the street is non-organic beans aren’t good for making milk. Also, make sure you get the edible sort of beans, not the type for growing soy bean plants and also not edamame
- Water
- Sugar (or sweetener of your choice)
Steps:
1) Rinse the soybeans under cool water.
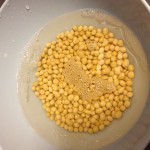
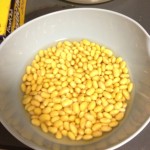
2) Soak 1 cup of soybeans in 2 cups of water for at least 8 hours (and no more than 24 hours). Make sure the beans are submerged the whole time (you should add some water if they aren’t). The beans will start to expand, so check often.
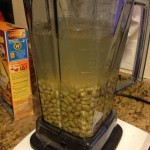
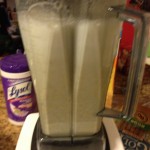
3) Pour the beans and soaking water into a blender or food processor. Add 4 cups of water and blend until smooth. It won’t be completely liquid, so no worries if it still has fine chunks of the soybean solid.
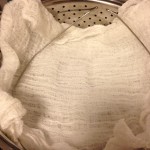
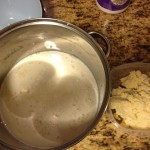
4) Strain out the milk over a pot. SAVE THE PULP! The first time I made the milk I used cheesecloth to strain out the milk, which was great for getting every last ounce of liquid out, but was really messy for clean up and still resulted in a little solid getting into the milk. They second time I used double strainers and that worked out great. I think I’ll use some muslin for straining next time and see if I can get a better result.
5) Add the pulp back into the blender with 3 cups of water, blend and repeat step 4.
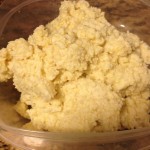
6) Add the pulp back into the blender with 2 cups of water, blend and repeat step 4 again. This will leave you with a lot of milk and the okara pulp. Don’t throw away the pulp because it’s great for making all sorts of things (see below).
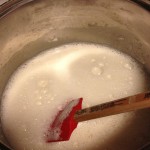
7) Heat the pot of milk to a boil and let it boil for 2-3 minutes. Make sure you stir frequently or the bottom of the milk might burn. Also, don’t forget to skim some of the foam off the top if there’s a lot of it. Make sure your pot is big enough too or else the milk might boil over and create a huge mess (known from experience).
8) Add sugar to taste, I added about 1/4 cup and found it to be just right.
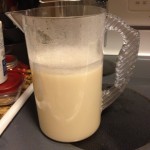
That’s pretty much it! 1 cup of soybeans made about 1.5L of milk, which is a bargain.
The okara paste left over after straining is very nutritious. It has a lot of protein and other good stuff. If you search for “okara recipes” online there are all sorts. You can also add it as a filler into other recipes. It has no flavor of its own and it picks up the flavor of other things really well. So far I’ve used it to make this whole wheat bread recipe with good results. We also used it in enchilada meat and a quiche with excellent results. I think I’ll try baking with the next batch and will let you know how it goes.
 Follow
This is awesome, Angela! This brings back memories of when my grandmother used to make soy milk with cheesecloth. I’m definitely starring this and looking for some organic soybeans! You rock!
Thanks for the post! Definitely going to try some of the okara recipes, now that I know how to search for it!